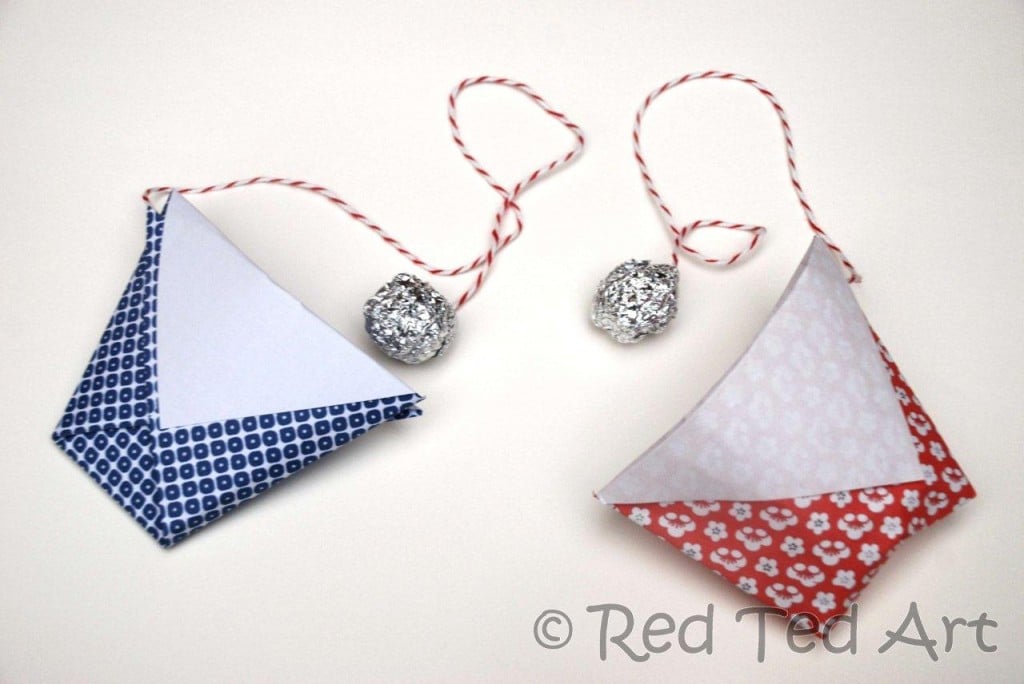
Today, however I have a classic little homemade paper toy for you:
The Ball & Cup
It is a great toy for introducing "folding" activities or Origami to younger children. It is also great for discussing "shapes" - squares, and triangles and explaining a "diagonal" etc. My four year old had a go and just about managed. So maybe make these in small groups. They are easy and fun. You don't even have to make the ball - you could just focus on the cup - show how you can fill it with water (for a few minutes), or fill it with a snack or beads in a crafting session. The cup is simple, but so versatile!
Here is a video of how to paper cups make them. (I didn't manage to embed it in the post for some reason).
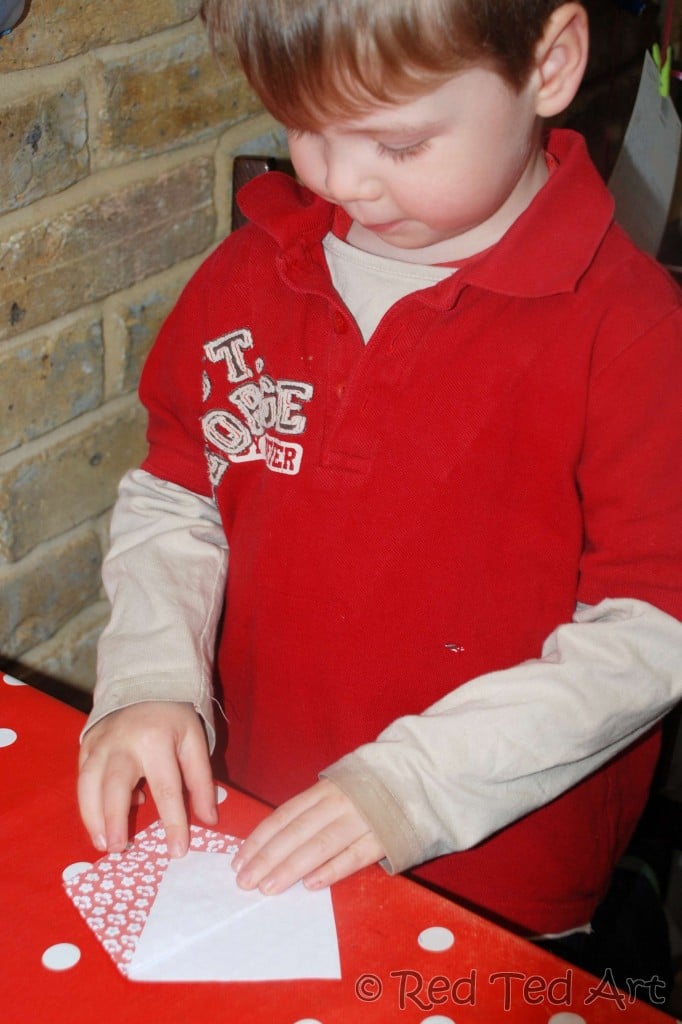
And this is my son having a go:
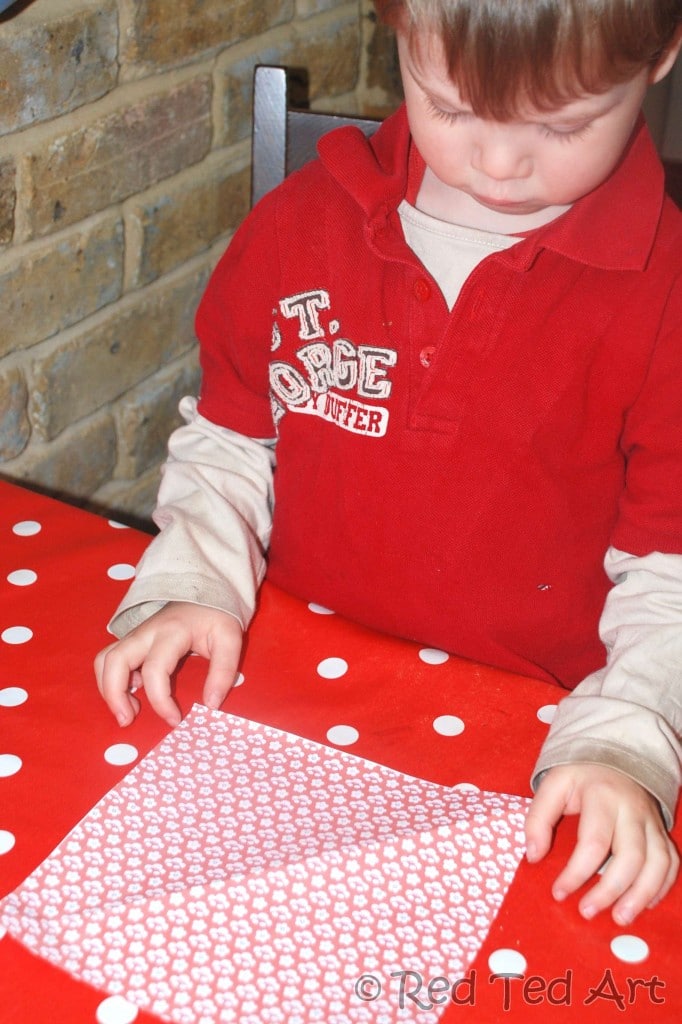
1) Take a square piece of paper (if you want a pretty pattern, I have links to free Origami printables).
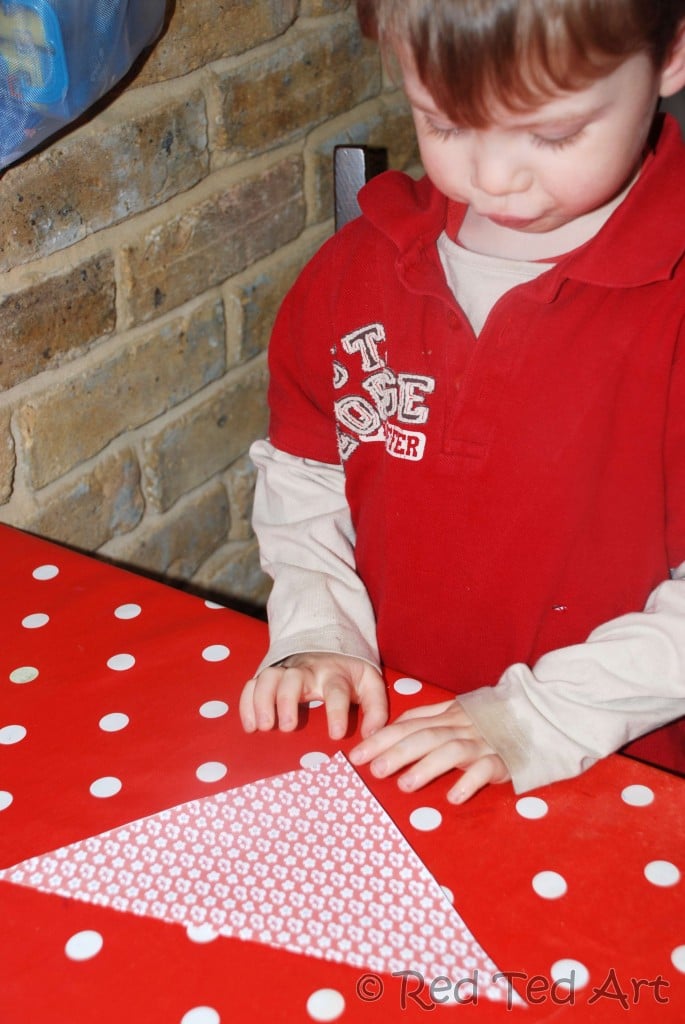
2) Fold your paper diagonally, so you are left with a triangle.
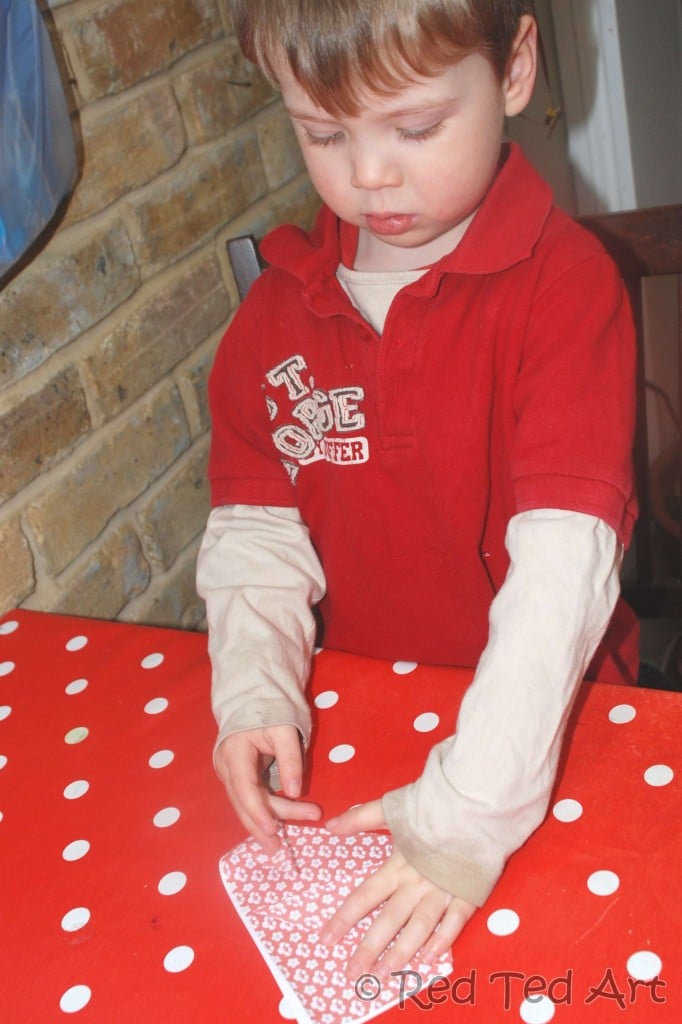
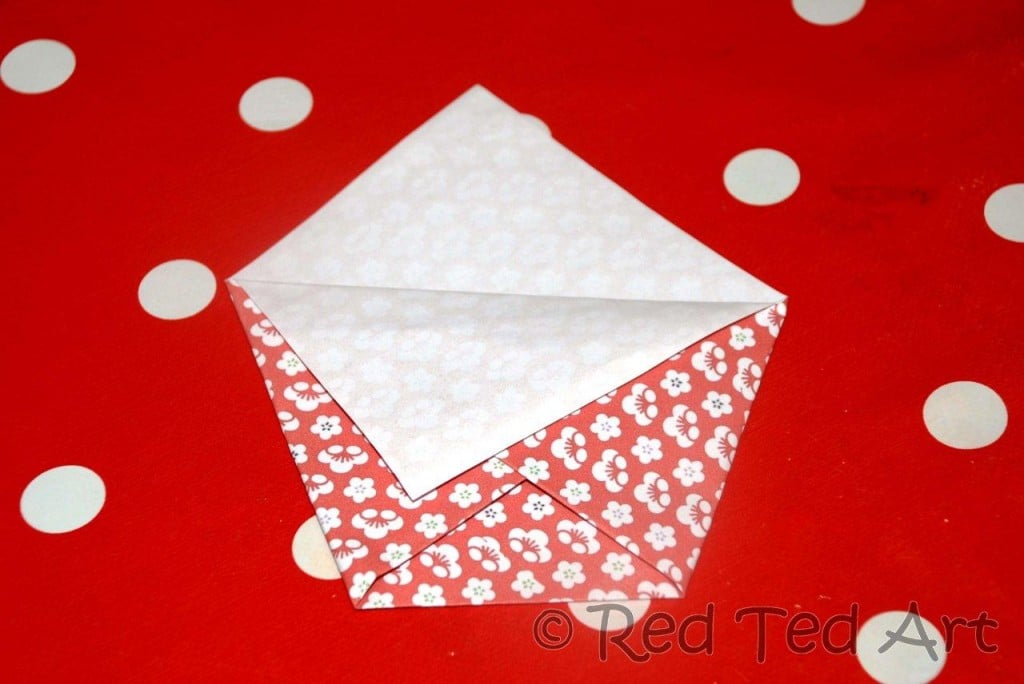
3) Turn your triangle round, so that the long side is front of you. Then take one of the sides and fold in. You will be creating a parrallely with the long side and the folded corner. (the video will show this clearer).
Repeat with the other side.
4) Fold down one sheet the top triangle (again, check the video) and turn round and repeat on the other side.
5) Your cup is finished (ours is slightly lopsided, but Red Ted is only 4!)
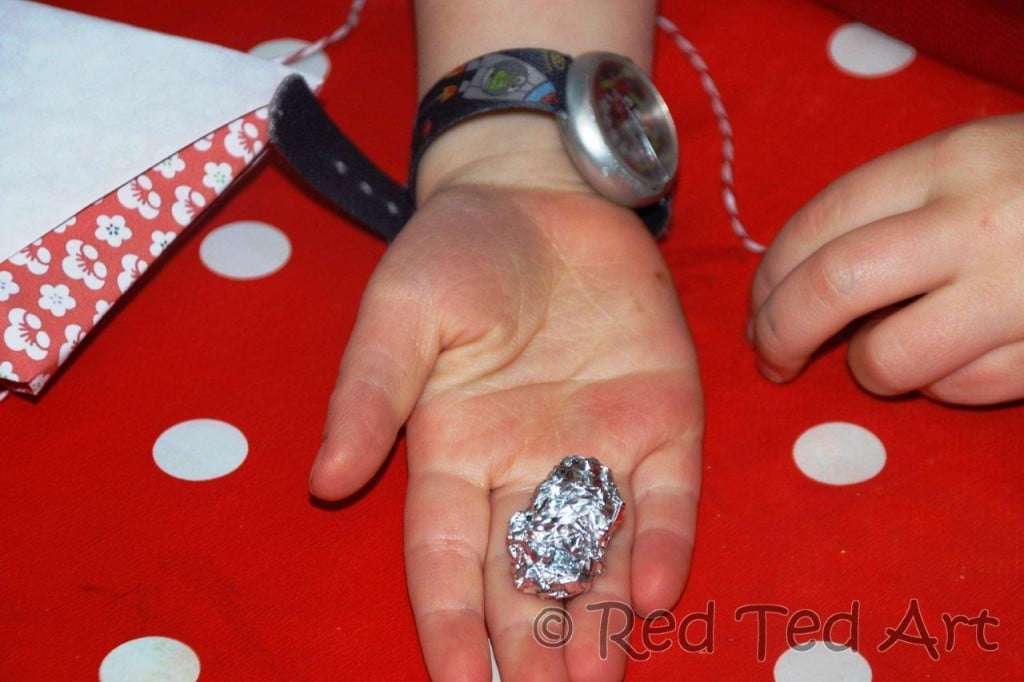
6) Now make the ball (this is not part of the video). Get a piece of string and some tin foil. Scrunch up the foil around the string. Making sure the string is secured tightly. Shape until it is nice and round (you can discuss "spheres" at this point).
7) Then make a small hole in the side of your cup, thread through the string, either knot it or tape it down. We found tape better as my kids like to play vigorously. DONE!
You can now start playing catch the ball! Have lots of fun!
If you are looking for more kids crafts ideas visit Red Ted Art and also do check out the rest of Pre k & K!
Until next time!
Maggy

What a wonderful craft idea, Maggy! I love the paper folding and the fun activity at the end. I pinned your post to the collaborative Writing and Fine Motor board at http://pinterest.com/debbie_clement/writing-fine-motor/
ReplyDeleteThen take one of the sides and fold in. You will be creating a parrallely with the long side and the folded corner. (the video will show this clearer).
ReplyDeleteRepeat with the other side. paper-writing.weebly.com
Wow! I love it and I also made it so fun and easy thank you red ted art!
ReplyDelete